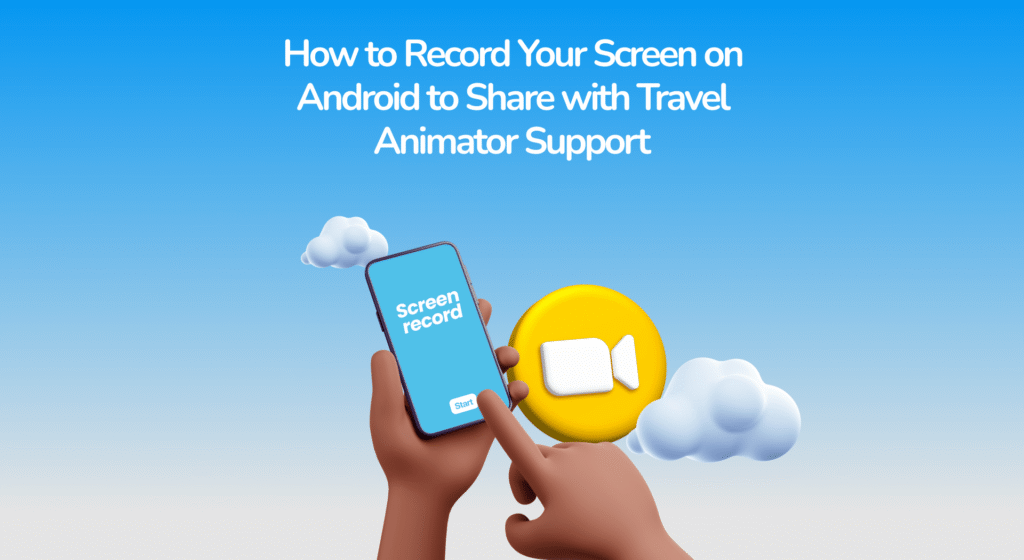
When you encounter an issue with the Travel Animator app, the quickest way to explain it to the support team is by showing them exactly what happens on your screen. Describing the problem in words sometimes isn’t enough, especially when the issue involves animations, export settings, or app navigation. That’s where you can use screen recording.
Most modern Android devices come with a built-in screen recorder, making it easy to capture your problem in real time. By recording your screen and sharing it with Travel Animator support, you help the team quickly understand what went wrong and provide a faster solution.
In this guide, we will explore how to record your screen on Android to share with Travel Animator support, how to share it, and when you need a screen record.
When Do You Need a Screen Recording in a Travel Animator?
Screen recording helps us better understand the issue when users email the Travel Animator support team to report a bug/issue with the app. Whenever you need to report a problem via email, attaching a short screen recording ensures that your issue is understood clearly, without long back-and-forth explanations.
Some common scenarios where recording your screen is beneficial with mail are exporting issues, app crashes, route or animation problems, subscription or login errors, etc. It’s better to add a screen record for every issue when mailing.
How to Record Your Screen on Android in a Travel Animator?
- Swipe down from the top of the screen to open the Quick settings menu.
- Look for the option Screen Record or Screen Recorder.
- If you don’t see it right away, swipe again or tap the pencil/edit icon to customize and add it.
- Tap on the Screen record icon.
- You may see toggle options like Record system sound and Record microphone sound to turn on or off.
- Turn on the record microphone to communicate the issue while recording the problem on your screen.
- Tap Start recording to start.
- You can see that your screen is recording now.
- Open the Travel Animator and recreate your issue step-by-step.
- Once done, tap the record symbol and save by clicking the save icon, which is represented by a red and white square.
- The recording will be automatically saved in your phone’s gallery.
Android devices may exhibit slight differences across various brands.
Tips for Clear Screen Recordings in Travel Animator
- Record only what’s necessary to show the issue. A 30-60 second video is usually enough.
- Recreate the exact problem in the screen record so the support team can easily clear it.
- If you’re using a microphone to communicate the issue with the video, ensure you’re in a quiet environment.
- Double-check the video before sharing to ensure it captures everything correctly.
How to Share the Recording with Travel Animator Support
Open your gallery and make sure the recorded video is already there. It can be saved separately in a file named “Screen Recordings” or viewed through the screenshots.
Open your email and compose a new email to the Travel Animator support team.
Tap the attach file icon and select your recordings. Add it to the message.
Along with the screen recording, write a short explanation about the issue you are facing.
Once everything is ready, send the email to Travel Animator support.
Facing any Issues in Travel Animator?
Share a screen recording with your email to the Travel Animator support team to help us quickly understand and resolve your issue. Instead of explaining long paragraphs, a short video that shows exactly what went wrong will save both users and teams time. With Android’s built-in screen recorder, capturing and sharing your issue only takes a minute.
The next time, you can just record it and send it if you’re facing any problems, such as a glitch, export failure, subscription error, or anything else. Let the support team handle the rest.