When something goes wrong in the Travel Animator app, the best way to help our support team understand the issue is to show the screen record. Explaining complex problems, such as glitches in route animations, export quality, or unexpected behaviour, through text alone can sometimes be confusing. A short screen recording gives our team a clear picture of the problem and speeds up the troubleshooting process.
iPhones come with a built-in screen recording feature that makes this process simple. With just a few clicks, you can capture exactly what’s happening on your screen and then share it directly with the Travel Animator support team.
In this guide, we’ll guide you through when screen recordings are helpful, how to enable and use the feature on your iPhone, and the best way to share your recording so you get a quick and effective solution.
When Do You Need a Screen Recording?
Screen recording helps the Travel Animator support team identify the issue, making communication smoother and faster. It’s better to include a screen recording of your issue when reporting a problem via email.
Screen recording is beneficial in everyday scenarios such as reporting bugs or errors, clarifying complex problems, demonstrating export/performance issues, and providing learning support. It helps to detect and solve problems easily.
How to Enable Screen Recording on iPhone?
Before you start recording, you need to make sure the screen recording is enabled on your device. It will not appear by default.
- Open settings on your iPhone.
- Go to the control center and scroll down to find screen recording.
- Tap the + icon to add it to your control center shortcut.
- Now, swipe down from the right corner of the iPhone screen.
- You can see the record button there.
How to Record Your Screen on iPhone
- Open the control center by swiping down from the right corner.
- Tap the record button.
- After a 3-second countdown, your screen will start recording.
- Open the Travel Animator app and recreate the issue.
- When finished, tap the red recording button at the top of the screen and confirm that you want to stop recording.
Tips for Clear Recordings in Travel Animator
- Try to record only the steps related to the issue. Long recordings can be more challenging to analyze.
- Explaining what’s happening through audio as you record can help the support team understand the context.
- Play the recording once to make sure it shows everything you need. Trim extra parts if necessary.
- Even though it’s a screen recording, turning on maximum screen brightness helps details stand out.
How to Share the Recording with Travel Animator Support
- Open the Photos app and select the screen recording.
- Tap the share button and choose Mail.
- Once your recording is attached, make sure to complete the To and From sections of the email and provide precise details about the issue.
- Tap the send button in the top right to send the mail.
Do You Need to Share an Issue With Travel Animator Support?
Screen recordings are one of the simplest and most effective ways to communicate problems when using Travel Animator on your iPhone. Instead of writing long explanations, you can show the issue step by step, helping our team respond faster and more accurately. By enabling screen recording, following a few best practices, and sharing your video directly, you make the troubleshooting process smoother for both sides.
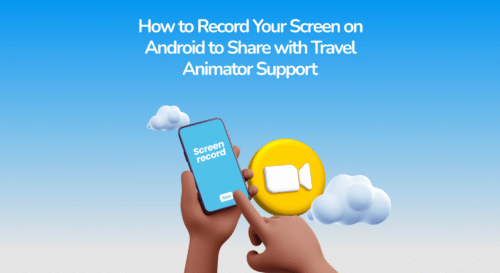
If you’re using an Android device instead, we’ve created a separate guide that guides you through the steps for recording your screen and sharing it with our support team.