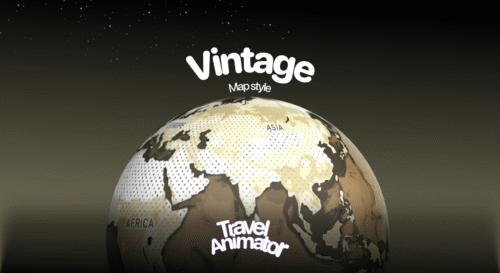
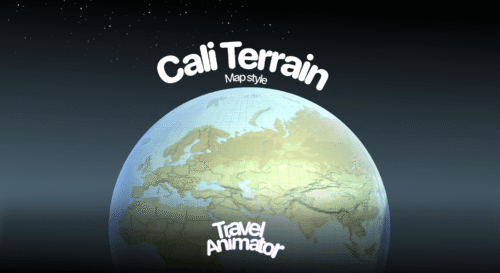
Travel Animator helps you add location names to make it easier for travelers and their audience to identify each destination.
You are creating your long travel journey video using the Travel Animator app to create an engaging and professional video. You want to mention every location name to improve the storytelling aspect of your video, but you are confused about how to add the names of each location in the animation.
Consider how Travel Animator can add the location’s name to each destination, making the travel animation video more engaging.
Why do you need to add location names to animation videos?
- Adding destination names helps the audience to understand and follow the routes easily. It enables the audience to identify the places without confusion.
- It enhances storytelling by clearly showing where you’ve traveled, making the simple animation video a more engaging narrative.
- Adding a professional touch to travel animation videos makes the video more informative. Whether you are using Travel Animator for personal use or professional purposes, adding a location name enhances the overall quality of the video.
Step-by-Step Guide to Adding Location Names in Travel Animator
- Open the Travel Animator app and start by selecting your travel routes or uploading the GPX file of your routes.
- If you have already marked the destinations, mark them using points. Long-press on the point to open the model menu.
- An icon is located in the top right corner of the model menu screen. Tap the icon to set the destination’s image and name. You can also manually enter the name of each destination.
- Choose the suitable model and adjust the edits you need.
- Preview and check how the names appear before saving.
- After customization, export or directly share the travel animation video on social media.
Best Practices for Adding Location Names
Things to Consider
- Align the destination image with the text to quickly identify the location.
- Preview the animation before saving it to check how the names appear in the video.
- Use a uniform length for all destinations to keep a professional appearance.
- If you’re a travel agency, use the text feature to highlight the travel packages and destinations.
Things to Avoid
- Placing labels too close together makes them unreadable. Keep a gap between the destination points to avoid this mistake.
- Limit excessive text to avoid congestion.
- Focus on highlighting key locations instead of mentioning minor stops.
- Ensure that the names are accurate to avoid confusion.
Want to know more about the features available in Travel Animator?
In Travel Animator, labeling the destination is easy and customizable, making your travel video more informative and visually appealing. Travel Animator not only labels destinations but also adds images of the locations to increase the engagement aspect and overall video quality. Whether you are sharing personal travel experiences on social media or for professional purposes, these features will help you create different content. Explore every feature by downloading Travel Animator now.


