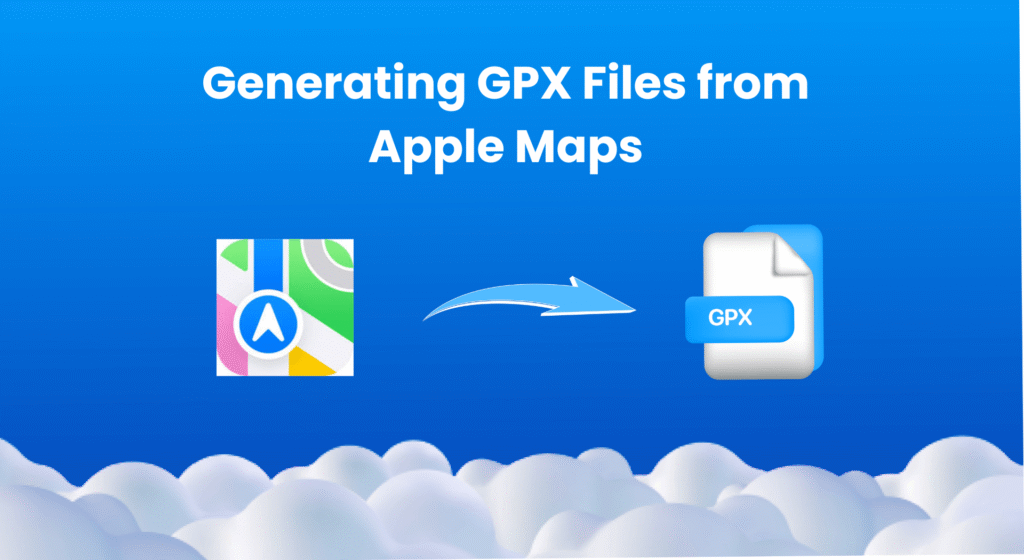
Generating GPX files using Apple Maps and a GPX converter is a simple way to obtain your travel routes for various use cases, such as planning trips, creating travel animations using the roads traveled, or showcasing the routes.
Imagine you want to create a travel animation video that shows the route from your business location to the nearest city. A GPX file of the exact destinations is essential for making such videos.
This will guide you in generating GPX files from Apple Maps to create videos with your routes.
What are GPX files?
GPX files are digital data of your travel route. They record your entire route using GPS data, including the exact location, routes, and stops.
You want to generate GPX files to save the routes you plan to explore or the ones you have already completed, and use them to create travel animation videos using tools like Travel Animator.
What are the use cases of GPX files?
- Save your road trip routes or hiking routes to keep the memories. You can use the GPX routes to follow in the future.
- Animate your travel route using tools like Travel Animator.
- You can use the GPX file with GPS apps or devices to stay on track.
- Share your routes with your friends or followers. It will help them to know the exact route if you’re traveling as a team.
- It helps to keep a document of every route you’ve traveled.
How to generate GPX files from Apple Maps?
- Open Apple Maps on iPhone or iPad.
- Enter your starting point and destination. Add destinations as you need using “Add stops”.
- You can shuffle the order of routes by dragging up and down.
- Copy the full URL of the route that is visible in the share button.
- Convert the link to GPX files using any GPX conversion tool, such as https://mapstogpx.com, https://gpx.studio, or https://www.gpsvisualizer.com.
- Upload the entire link to any one of the tools and convert it into a GPX file.
- Download the file to your device or save it for future use.
How to upload a GPX file in Travel Animator? - Steps-by-step guide
- Open the Travel Animator App and sign up. Sign in if you already have an account.
- Start creating your travel animation by importing GPX files. Tap on “route menu” that you can see in the top right corner of the screen.
- Click on “Add GPX” and upload the GPX file you want to create an animation video from.
- You can customize the destinations and add elements like travel models, map styles, duration, and so on.
- Travel Animator provides high-definition and 4K quality animation videos. Choose the quality and export the video to your device.
- There is an option to directly share your videos on various social media platforms to showcase them.
Best Practices for Creating a Travel Video Using GPX
- Before exporting, remove unnecessary turns or stops to make the video clean.
- Choose the best map styles that match your vibe and destinations.
- Add labels for cities, stops, and highlighting places. Combine images with your route for a professional and standard story.
- Make sure the animation is not too fast or too slow.
Are you planning to create travel videos with more features?
Travel Animator offers an option to upload GPX files, allowing you to create travel memories using the actual routes you took. Apple Maps, along with GPX converting platforms, helps to generate such routes easily. After uploading your routes, use Travel Animator’s advanced features to make the video look more stunning and professional. Upgrade to Travel Animator Pro and enjoy the advanced features, including HD and 4K quality exporting.