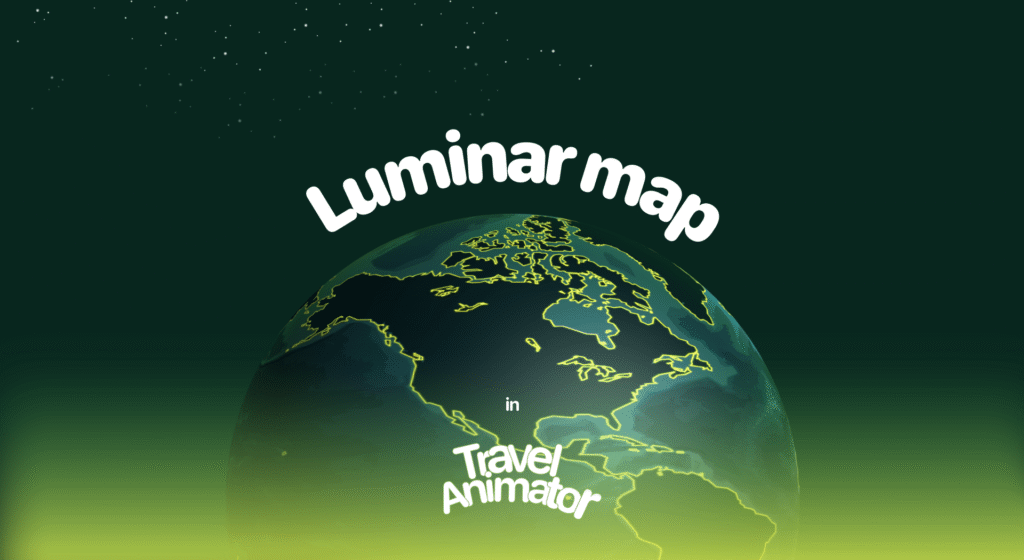
Luminar Map is a newly released map style that gives your animation a distinctive look with glowing outlines and a rich, ocean-blue background, making the routes stand out.
Imagine you are creating a video to showcase a luxury cruise route across multiple countries. You are looking for a way to highlight the port with a glowing point to catch the viewer’s attention instantly.
Explore the newly released Luminar Map Style, its use cases, and how to use it in your Travel Animation Video.
What Is the Luminar Map Style in a Travel Animator?
The Luminar Map Style in Travel Animator is a newly released map that gives your travel route highlights luminous outlines and points with a dark ocean blue background. This style creates a visually stunning and attractive look.
This map is designed for creators who want their travel animations with a night sky inspired by nightlight satellite, making it perfect for showing global routes, long-distance travel with glowing city lights, and deep blue oceans.
Is the Luminar Map Style Free or Premium?
You will get the Luminar Map Style for free for the first thirty days from the release of the map. However, you won’t have access to other premium features, such as premium models, premium maps (which don’t come with a free trial), and high-quality exports without watermarks.
Luminar map style is included in the premium version of Travel Animator. You will need an active premium subscription to use Luminar Map in your animation videos. It also activates other premium features. So, if you’re planning to create professional content, be ready to subscribe.
How to Use the Luminar Map Style in Your Project - Step-by-step Procedure
- Open the Travel Animator App and sign up using an email account.
- Upgrade to Travel Animator Pro to activate Luminar Map. You will get 30 days of free trial from the day it is released.
- Start creating your travel video by adding destinations, models, images, and labels.
- Preview your video and choose the Map style to use the Luminar Map.
- Select the Luminar from the map menu, then toggle the Place Labels on or off to choose whether place names are displayed.
- You can switch between 2D and 3D views based on your preference.
- Adjust other features, export the video in HD or 4K format, and share it with your audience.
Who Should Use the Luminar Map Style - Use Cases
- Travel Vloggers can create night travel videos for YouTube and Instagram.
- Tour operators can visually showcase tour routes in their promotional videos.
- Perfect for mapping marathons, road trips, and travel paths.
- Travelers can add this map to their trip videos to look stunning.
- It is great for presentations at educational institutions that require a professional, modern-looking map.
Is Luminar Map the Best Choice for Your Travel Animation?
If you want your night travel animation to look vibrant and stunning, Luminar Map is the best choice. Its combination of rich colours and visuals makes it perfect for global routes. Use the Luminar Map for 30 days, before the free trial ends, to test the map and see how it enhances your storytelling.