The Bubble Map style in Travel Animator is designed for creators who want a smooth, natural, and realistic representation of geography in their videos.
Whether you’re preparing a travel vlog, a documentary-style video, or even a presentation, the Bubble Map style ensures your audience can follow your journey with clarity and ease.
In this article, we’ll explore what the Bubble Map Style is, whether it’s free or paid, how to use it in your animation, and which types of creators and use cases benefit the most from it.
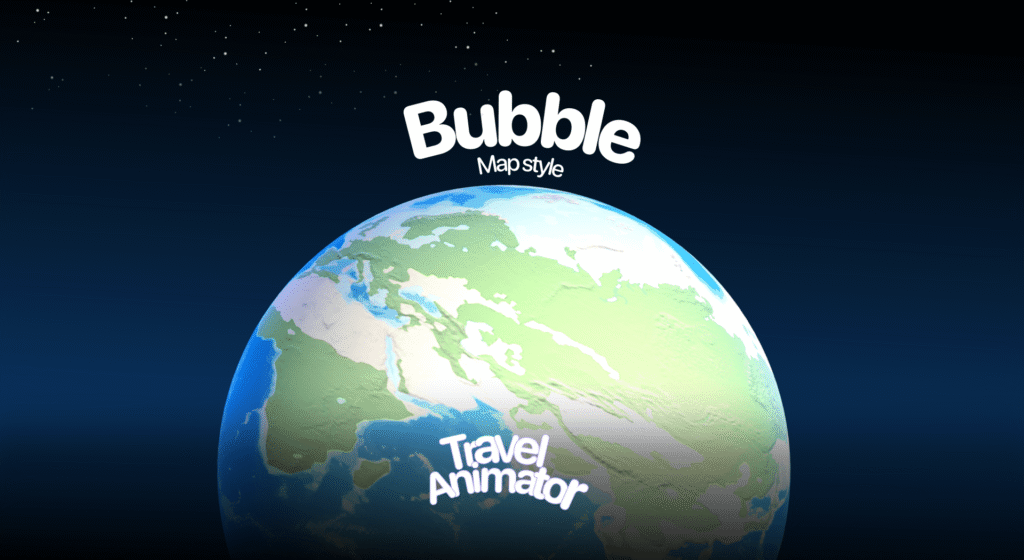
What Is the Bubble Map Style in Travel Animator?
The Bubble Map Style is designed for users who prefer a natural and terrain-like map view. It contains realistic tones of green, brown, and blue, representing forests, mountains, plains, and oceans. This makes the map feel more organic and close to how one might see it in a physical atlas or satellite view.
It’s useful when you want to highlight landscapes, highlight the natural beauty of a route, or present travel animations with a more authentic, geography-focused appeal. Compared to brighter or vintage-style maps, Bubble feels calm, balanced, and classic, while still maintaining clear labeling of cities, regions, and countries.
Is the Bubble Map Style Free or Premium?
The Bubble Map style is available for free for 30 days from its release in Travel Animator. This allows all users to explore its features and test how it fits into their videos without any cost. However, the free 30-day access is an excellent opportunity for beginners, educators, vloggers, or event planners to experiment with Bubble and see if it aligns with their creative vision.
Once the trial period ends, you will need to upgrade to a premium plan to access all premium features, including Bubble Map style. You can create more personalised and engaging animations with the help of all premium features, including the Bubble Map style.
How to Use the Bubble Map Style in Your Animation
- Open the Travel Animator App on your device and sign in with an email address.
- Upgrade the app to get the Bubble Map style in your animation video.
- Start adding your routes or travel paths.
- Go to Preview the video, then select Maps.
- Scroll through the available map styles and choose Bubble.
- Toggle the Place Labels option on or off depending on whether you want location names visible in your animation.
- Tap Select to apply the Bubble Map style.
- Preview your animation in 2D or 3D mode to see how the journey flows.
- Export your video and share it across various platforms.
Who Can Benefit from the Bubble Map Style?
- Perfect for Travel Vloggers and creators who want to highlight road trips, mountain treks, or coastal drives, with maps that mirror real terrain.
- Teachers can use Bubble Map to explain geography or history lessons, where natural landscapes play a role in the storytelling.
- Businesses in the tourism, logistics, or travel planning industries can use Bubble to create clear and realistic presentations.
- From Instagram Reels to TikTok Shorts, Bubble adds an authentic touch to animated maps, making content stand out from flat or overly stylized visuals.
- Turn your holiday trip into a memorable video with Bubble Maps. It provides a warm and natural appearance that accurately reflects real-world landscapes.
Is Bubble the Right Map Style for You?
The Bubble Map style in Travel Animator is ideal for creating realistic, natural, and professional-looking travel animations. Bubble Map ensures that journeys are displayed in a way that feels authentic and easy to follow. With the 30-day free trial, you have nothing to lose in experimenting with this style. Try it out and see how it enhances your projects, whether you’re teaching, vlogging, or presenting professionally. Upgrade to Travel Animator Pro to get all features with Bubble Map.
Download the Travel Animator Today.